Importing the appliance
Once the .ova file has been downloaded, it is ready to be imported into the host you have already prepared. Please ensure that the host meets the requirements stated earlier in this guide, then based on the hypervisor environment follow the instructions below.
Note on Performance Benefits on VMWare and VirtualBox
To take advantage of recent Speechmatics improvements in performance using AVX2, the hardware_version of the Appliance has been upgraded from 9 to 11. If you are running VMWare ESXi host 6.5 or later, this should not affect any system behaviour. If you are on an earlier version, you can downgrade the hardware version as documented here; however please note that this will mean you cannot take advantage of more recent optimisations in performance from using Advanced Vector Extensions 2 (AVX2).
If you are running your Appliance in VirtualBox please follow the following guidelines to enable AVX2 if it is not done automatically during the importing process.
VMware ESXi
The following steps can be used to import the virtual appliance into VMWare ESXi 6.5:
- Open the vSphere web console on the host
- Choose "Virtual Machines" from the Navigator
- Select "Create/Register VM" option
- A wizard will appear:
- Choose "Deploy a virtual machine from an OVF or OVA file" and click "Next"
- Enter a VM name e.g. "SM_Batch_01", and drag the downloaded .ova file onto the window and click "Next"
- Select a datastore that has enough capacity to store the virtual appliance and click "Next"
- From the "VM network" dropdown box, select a network
- Choose Thin or Thick disk provisioning (the Speechmatics Real-time Virtual Appliance supports either. Choose the options that is right for the hosting environment refer to VMWare documentation for help and click "Next"
- Check the details are correct and click "Finish"
- The virtual appliance will import. This can take a few minutes depending on the datastore chosen.
Once the VM has imported it should be visible on the vSphere web console:

Important Notice
If you are running VMWare ESXi version 6.5 version or above, change the hardware_version of the appliance to 11 to take advantage of recently implemented Speechmatics performance improvements. How to do so is documentede here
VMware Workstation Player
- Open VMware Workstation Player
- From the top options bar select "Player", then "File" and "Open..."
- The "Open Virtual Machine" window will appear. Navigate to the ".ova" file you downloaded earlier, select it, click "Open"
- Enter a VM name e.g. "SM_Batch_01"
- A default storage location for the virtual appliance will be shown, the can be changed if required. Click "Import".
- Dropdown box from the top options bar, click on "File"
- The virtual appliance will import. This can take a few minutes depending on the hard disk chosen
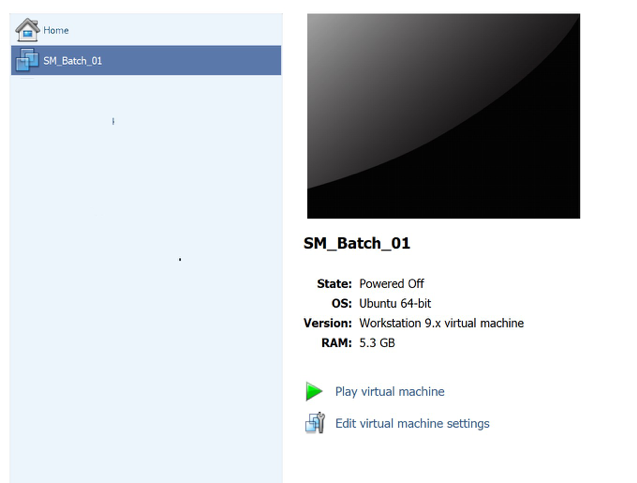
Once the VM has imported it should be visible on the Workstation player:
VirtualBox
The following steps can be used to import the virtual appliance into VirtualBox 5.2 or above.
- Open VirtualBox
- From the Manager window select "File", then "Import Appliance..."
- In the Name field, name the Real-time Virtual Appliance e.g. "SM_Batch_01"
- Browse to the OVA file and click on the "Import" button
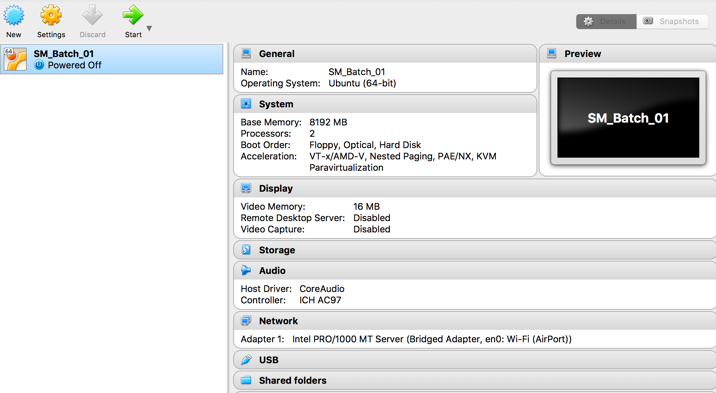
Once the VM has imported it should be visible on the VirtualBox Manager:
Amazon Web Services
This section explains how to create a Real-time Virtual Appliance EC2 instance on the Amazon Web Services (AWS) platform by using the AWS VM Import/Export tool. This tool is designed for importing VM images from the OVA file format provided by Speechmatics. You will import the image as an Amazon Machine Image (AMI), from which you can then launch machine instances.
The information in this section is taken from the official AWS documentation and parts of it have been extracted to focus more on the particulars of the Speechmatics Real-time Virtual Appliance. For more details of the Amazon VM image import process, please refer to https://docs.aws.amazon.com/vm-import/latest/userguide/vmimport-image-import.html
Prerequisites
There are a few pre-requisites that you will need to have setup before you can follow the instructions in this section:
- AWS Command Line Interface (CLI)
- Python 2.6.5 or higher
Please follow the recommendations on configuration of the AWS CLI by referring to the Getting Started guide.
Uploading the OVA file to S3
This section describes the process of uploading the Speechmatics OVA file to an Amazon S3 bucket from where it can be imported as an AMI instance. We recommend using a bucket in the same region where you want the AMI to be created and made available.
Once you've identified or created the S3 bucket on your account where the Speechmatics Real-time Virtual Appliance OVA will be uploaded to, you can use any of the tools below to help with the upload of the OVA file.
- The following AWS SDK libraries support S3 multipart upload (which is the recommended method given the large size of the OVA file):
- AWS SDK for Java
- AWS SDK for .NET
- AWS SDK for PHP
- AWS SDK for Python (Boto)
- AWS SDK for Ruby
- You can also use the Multipart Upload API directly
- User interface tools, for instance:
For more information about the multipart uploads, see the AWS documentation.
Importing the OVA as AMI instance
After the Virtual Appliance OVA file has been successfully uploaded to an S3 bucket, it's time to import the image.
See the AWS documentation that covers uploading an image for full details.
The steps that you will perform in this section include (in order):
- Creating a Service Role on your AWS account
- Assigning a Role Policy to this Service Role
- Importing the OVA for the Real-time Virtual Appliance from the S3 bucket file
Creating an Import Service Role
First of all, a service role needs to be created on your AWS account. This allows certain operations, including downloading images from an S3 bucket.
Create a file named trust-policy.json with the following policy:
{
   "Version": "2012-10-17",
   "Statement": [
      {
         "Effect": "Allow",
         "Principal": { "Service": "vmie.amazonaws.com" },
         "Action": "sts:AssumeRole",
         "Condition": {
            "StringEquals":{
               "sts:Externalid": "vmimport"
            }
         }
      }
   ]
}
Then use the create-role command from the AWS CLI to create a role named vmimport. You need to specify the full path of the trust-policy.json file:
aws iam create-role --role-name vmimport --assume-role-policy-document file://trust-policy.json
You need to ensure the that file:// prefix is prepended to the filename.
Creating a Role Policy
Create a file named role-policy.json with the following policy. Where you see ova-bucket it will need to be replaced with the name of the S3 bucket where the OVA file is stored.
{
   "Version":"2012-10-17",
   "Statement":[
      {
         "Effect":"Allow",
         "Action":[
            "s3:GetBucketLocation",
            "s3:GetObject",
            "s3:ListBucket"
         ],
         "Resource":[
            "arn:aws:s3:::ova-bucket",
            "arn:aws:s3:::ova-bucket/*"
         ]
      },
      {
         "Effect":"Allow",
         "Action":[
            "ec2:ModifySnapshotAttribute",
            "ec2:CopySnapshot",
            "ec2:RegisterImage",
            "ec2:Describe*"
         ],
         "Resource":"*"
      }
   ]
}
Use the put-role-policy command to attach the policy to the role. You must specify the full path to the location of the role-policy.json:
aws iam put-role-policy --role-name vmimport --policy-name vmimport --policy-document file://role-policy.json
Importing the OVA
Importing the virtual appliance image (OVA) to Amazon EC2 as an Amazon Machine Image (AMI) is the next step.
Create a file named containers.json with the following content. Where you see ova-bucket it will need to be replaced with the name of the S3 bucket where the OVA file is stored and where you see example-virtual-appliance.ova it will need to be replaced with the name of the OVA file to be imported (e.g. batch-appliance-<version>-maxi-<build-number>.ova or rt-appliance-<version>-maxi-<build-number>.ova).
[
  {
    "Description": "Virtual Appliance OVA",
    "Format": "ova",
    "UserBucket": {
        "S3Bucket": "ova-bucket",
        "S3Key": "example-virtual-appliance.ova"
    }
}]
Use the import-image command to create an import task (Specify the full path to the location of the containers.json):
aws ec2 import-image --description "Virtual Appliance OVA" --disk-containers file://containers.json
The resulting JSON output will show an ImportTaskId which you can use to check the status of the import task. You do this by running the describe-import-image-tasks command:
aws ec2 describe-import-image-tasks --import-task-ids import-ami-abcd1234
You need to replace the task identifier with the ImportTaskId for your import task (import-ami-abcd1234 in this example).
When the status is in the completed state the AMI is ready to use.
Security
For more background on creating security groups refer to the official AWS documentation. See the Ports and Protocols section for a list of the ports that are used. These ports should be opened so that you can submit jobs and manage and monitor the Speechmatics Virtual Appliance.
Real-time Virtual Appliance
If you setup HTTPS as described in the 'SSL Configuration' section of these docs then you only need to expose port 443, unless you require use of the v1 WebSockets API, which requires use of port 9000. We recommend use of our updated v2 API unless you are a customer who has already implemented code against our v1 API.
Batch Virtual Appliance
If you setup HTTPS as described in the 'SSL Configuration' section of these docs then you only need to expose port 443.
Launching a Virtual Appliance
Now that the Virtual Appliance has been imported, it will be available as an AMI which can be launched as an instance. To launch a Speechmatics Virtual Appliance, do the following:
- Login to the AWS console and find your image under EC2 Service | Images
- Right-click the image and choose Launch
- Refer to the System requirements section of the Speechmatics Quick Start Guide or Admin Guide to identify how much system resources is required for your set up. Choose the instance type that meets your requirement
- Choose Review and Launch from the console. Setup the Key Pair if required and choose Launch again.
Full instructions for launching instances can be found here: https://docs.aws.amazon.com/AWSEC2/latest/WindowsGuide/launching-instance.html